Growing Tomatoes in Containers Best Practices
Imagine plucking a sun-ripened tomato, still warm from the garden, and savoring its explosion of flavor. Nothing beats a homegrown tomato, and container gardening makes that delicious dream a reality, even without a sprawling backyard.
Growing tomatoes in containers puts fresh, flavorful fruit within easy reach, regardless of your space. It's a fantastic way to control soil conditions, protect your plants from pests, and enjoy a bountiful harvest right on your patio, balcony, or even indoors. Plus, let's be honest, there's a special satisfaction that comes from nurturing a tiny seedling into a thriving, fruit-producing plant.
Ready to give your tomato plants a boost? Try this quick tip: add a tablespoon of Epsom salts to the planting hole when you first transplant your seedlings. The magnesium in Epsom salts helps promote strong growth and abundant flowering – a great start for your container tomatoes!
Container Tomato Growing: Your Complete Guide
Growing tomatoes in containers is one of the most accessible ways to experience the joys of gardening and enjoy the unmatched flavor of homegrown produce. But to truly thrive, your tomato plants need the right environment and care. This guide provides best practices to ensure a successful harvest.
Choosing the Right Container
The size and type of container you select significantly impact the health and productivity of your tomato plants.
Size Matters: How Big Should Your Container Be?
Bigger is generally better when it comes to container size for tomatoes. A larger container holds more soil, providing more nutrients and moisture, and allows for better root development. For determinate (bush) tomato varieties, a container that holds at least 10 gallons is recommended. Indeterminate (vining) varieties, which grow much larger, need at least a 20-gallon container. Five-gallon buckets can work in a pinch, particularly for smaller dwarf varieties, but a larger container reduces the need for frequent watering and fertilizing.
Container Material: What's Best for Tomatoes?
Containers are available in various materials, each with pros and cons: Plastic: Lightweight, inexpensive, and retains moisture well. However, dark-colored plastic can heat up quickly in direct sunlight, potentially damaging roots. Opt for lighter colors or line the inside with reflective material. Terracotta: Porous, allowing for good air circulation and drainage. Terracotta pots also look aesthetically pleasing. However, they dry out quickly and can be heavy and breakable. Fabric Pots: Excellent for air pruning roots, preventing plants from becoming root-bound. Fabric pots also provide good drainage and aeration. They may dry out faster than plastic containers. Wood: Provides good insulation and a natural look. Untreated wood can rot over time, so consider lining the inside with plastic.
No matter the material you choose, ensure your container has adequate drainage holes. Proper drainage prevents waterlogging, which can lead to root rot.
Selecting the Right Tomato Variety
Not all tomato varieties are created equal when it comes to container gardening. Choose varieties that are well-suited for growing in pots.
Best Tomato Varieties for Containers
Determinate (Bush) Varieties: These tomatoes grow to a compact size and produce their fruit all at once, making them ideal for smaller containers. Popular determinate varieties include Roma, Celebrity, and Patio. Indeterminate (Vining) Varieties: These tomatoes continue to grow and produce fruit throughout the season. They require staking or caging for support. While they need larger containers, many indeterminate varieties perform well in pots, including cherry tomatoes like Sungold and Black Cherry, and slicing tomatoes like Early Girl and Better Bush. Dwarf Varieties:Bred specifically for container gardening, dwarf tomatoes are compact plants that produce full-sized fruit. Popular choices include Tiny Tim and Venus.
Consider your available space, preferred tomato size, and desired flavor when selecting your varieties.
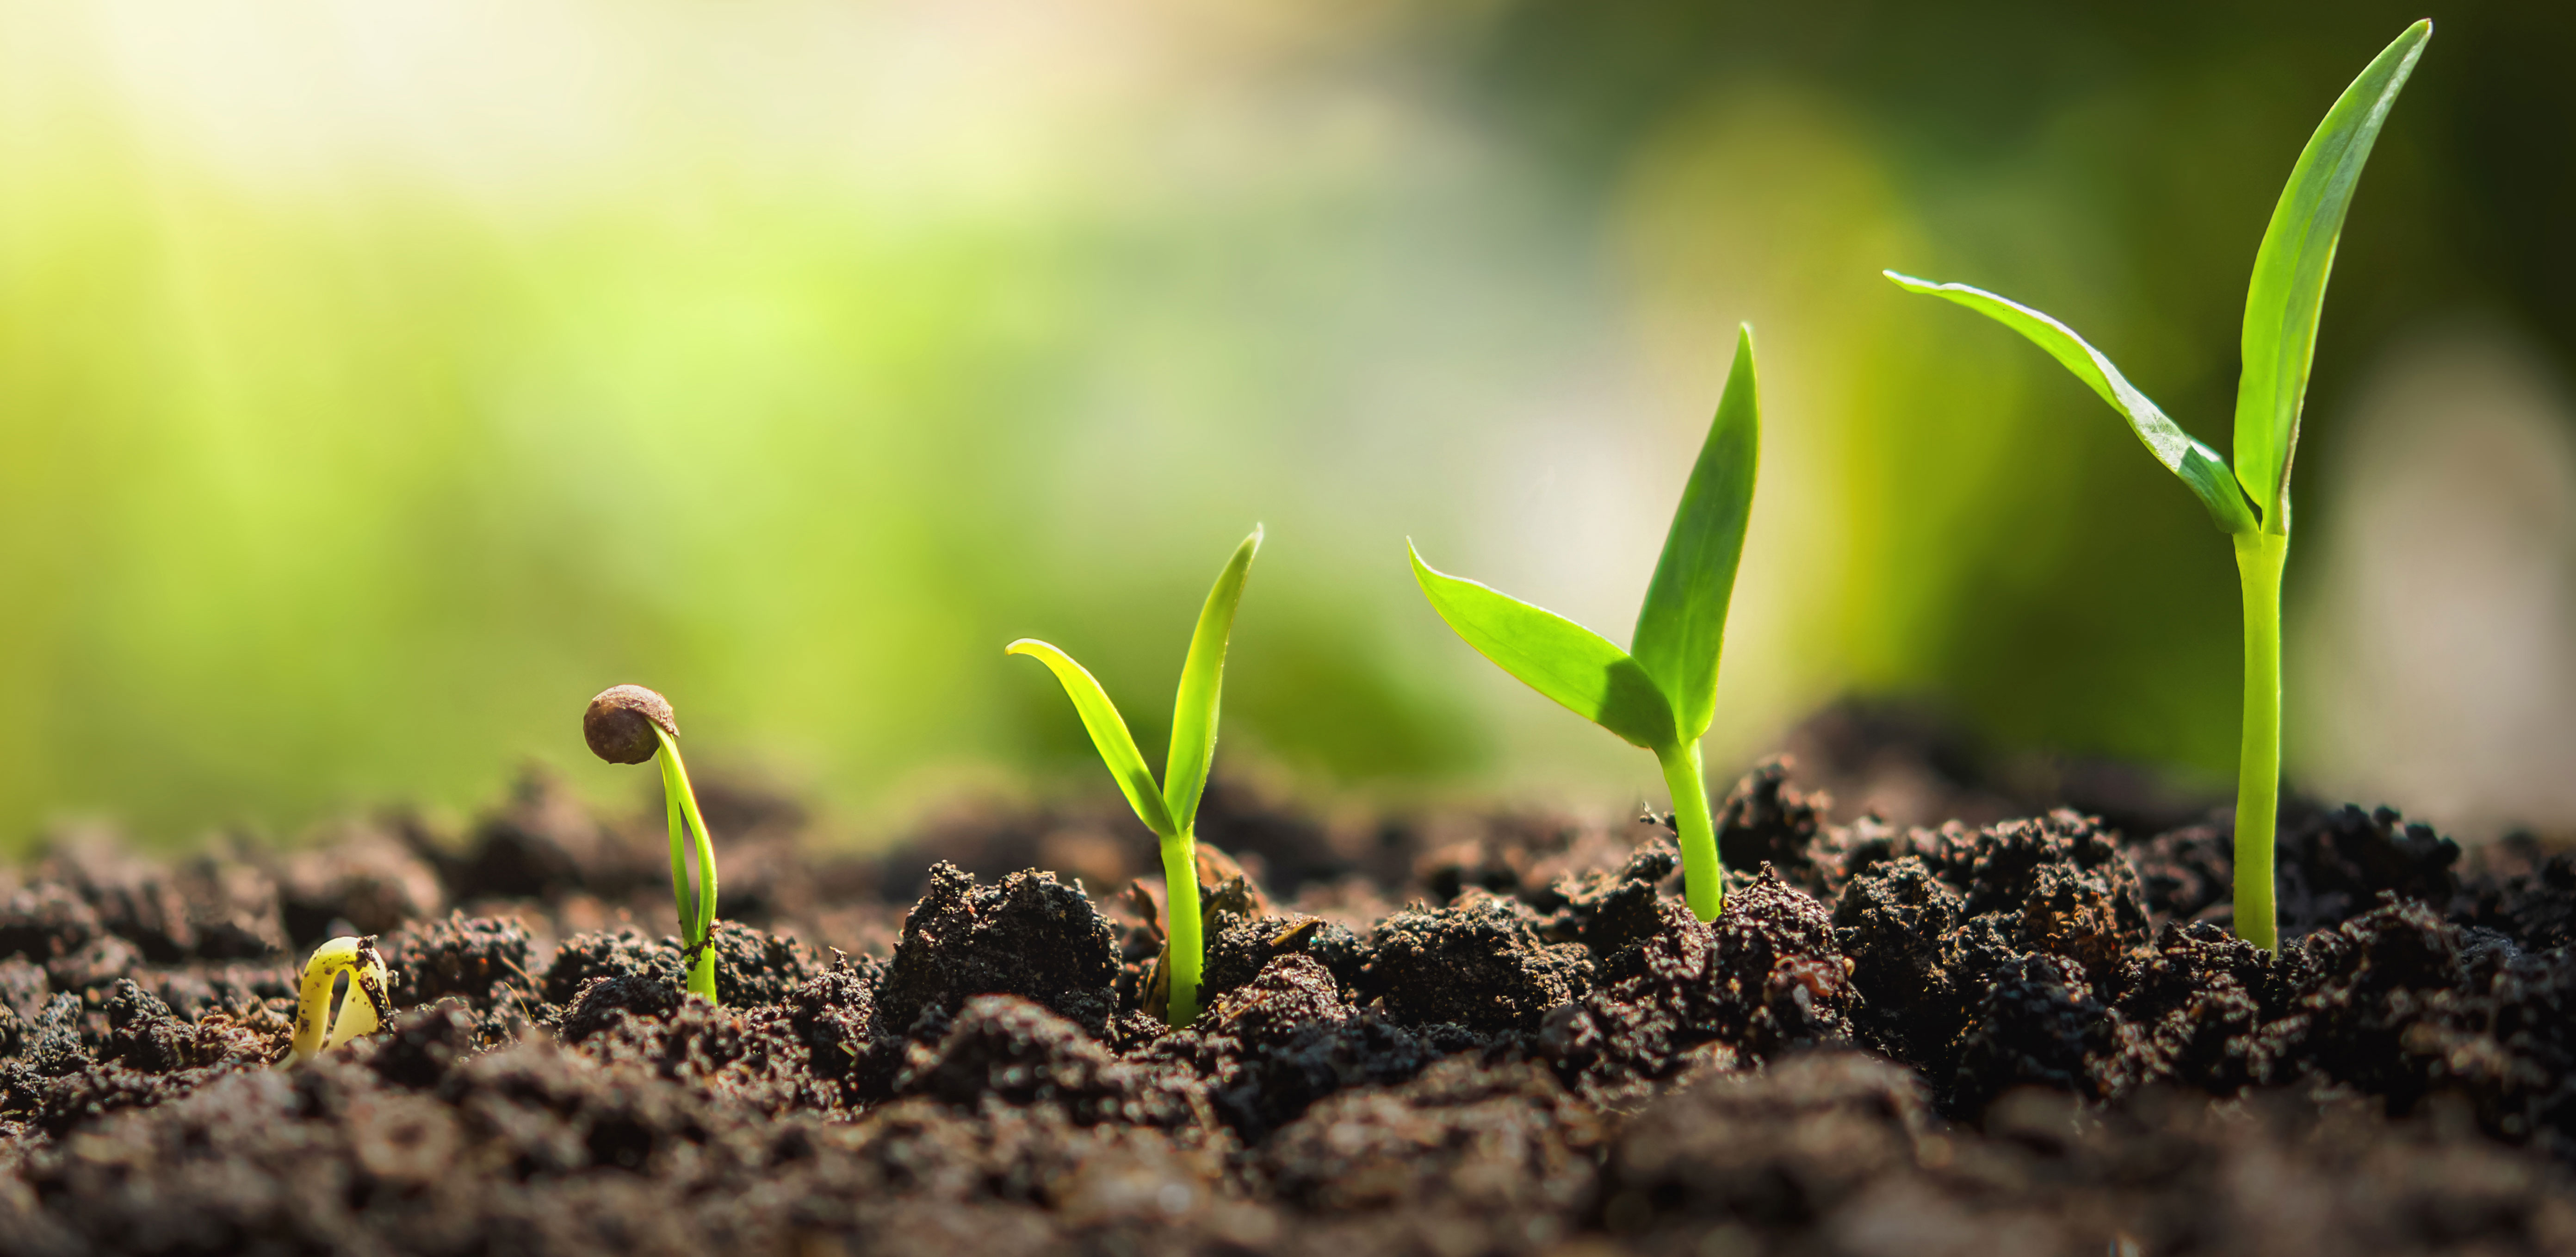
From Seed to Seedling: Starting Your Tomato Journey
You can start your tomato plants from seed indoors 6-8 weeks before the last expected frost or purchase seedlings from a local nursery. Starting from seed gives you more control over the variety and allows you to get a head start on the growing season.
How to Start Tomato Seeds Indoors:
1.Use a Seed Starting Mix: Avoid using garden soil, which can be too heavy and may contain pathogens.
2.Sow Seeds: Plant seeds about ¼ inch deep in seed starting trays or small pots.
3.Provide Warmth: Tomato seeds germinate best at temperatures between 70-80°F (21-27°C). Use a heat mat to maintain optimal soil temperature.
4.Provide Light: Once seedlings emerge, provide them with 14-16 hours of light per day. Use grow lights or place them near a sunny window.
5.Water Carefully: Keep the soil consistently moist but not waterlogged. Water from the bottom to prevent damping off.
6.Harden Off Seedlings: Gradually acclimate seedlings to outdoor conditions before transplanting them into containers. Expose them to increasing amounts of sunlight and wind over a period of 7-10 days.
Soil and Planting
The quality of your soil plays a crucial role in the health and productivity of your tomato plants.
The Best Soil Mix for Container Tomatoes
Avoid using garden soil in containers, as it can compact and drain poorly. Instead, use a high-quality potting mix specifically formulated for containers. Look for a mix that contains ingredients like peat moss, perlite, vermiculite, and compost. These ingredients provide good drainage, aeration, and nutrient retention.
Consider amending your potting mix with additional compost or aged manure to boost fertility. You can also add slow-release fertilizer granules to provide a steady supply of nutrients throughout the growing season.
Planting Your Tomato Seedlings: A Step-by-Step Guide
1.Choose a Sunny Location: Tomatoes need at least 6-8 hours of direct sunlight per day.
2.Fill the Container: Fill the container with your chosen potting mix, leaving a few inches of space at the top.
3.Plant the Seedling: Dig a hole deep enough to accommodate the root ball. Gently remove the seedling from its container and loosen the roots. Place the seedling in the hole and backfill with potting mix.
4.Bury the Stem: Tomatoes have the unique ability to grow roots from their stems. Burying a portion of the stem encourages stronger root development and a more robust plant. Remove the lower leaves and plant the seedling deeper than it was in its original container.
5.Water Thoroughly: Water the newly planted seedling thoroughly to settle the soil and provide initial moisture.
6.Add Support: Install a stake or cage at the time of planting to provide support for the growing plant.
Watering and Fertilizing
Consistent watering and regular fertilization are essential for healthy tomato plants and abundant fruit production.
Watering Strategies for Container Tomatoes
Container tomatoes dry out faster than those grown in the ground, so regular watering is crucial. Water deeply and thoroughly whenever the top inch of soil feels dry to the touch. Avoid overhead watering, which can promote fungal diseases. Instead, water at the base of the plant.
During hot, sunny weather, you may need to water your container tomatoes daily or even twice a day. Check the soil moisture regularly and adjust your watering schedule accordingly. Consider using a self-watering container or adding mulch to the soil surface to help retain moisture.
Feeding Your Tomato Plants: The Right Fertilizer
Tomatoes are heavy feeders and require regular fertilization to produce abundant fruit. Use a balanced fertilizer specifically formulated for tomatoes, following the instructions on the label. Look for a fertilizer with a higher phosphorus (P) and potassium (K) content than nitrogen (N), as these nutrients are essential for flowering and fruit development.
Start fertilizing your tomato plants a few weeks after planting and continue throughout the growing season. You can use a liquid fertilizer diluted in water or a slow-release granular fertilizer. Avoid over-fertilizing, which can lead to excessive foliage growth and reduced fruit production.
People Also Ask
How often should I fertilize my container tomatoes?
Generally, fertilize every 2-3 weeks with a liquid fertilizer, or according to the instructions on your chosen fertilizer. Slow-release fertilizers need less frequent application.
What are signs of over-fertilizing tomatoes?
Yellowing leaves (especially at the bottom of the plant), excessive leaf growth, and a lack of flowers or fruit can indicate over-fertilization.
Pruning and Support
Pruning and providing support are important for maintaining healthy, productive tomato plants in containers.
Pruning for Optimal Growth
Pruning helps improve air circulation, reduces disease, and encourages fruit production. Remove suckers (small shoots that grow in the junction between the stem and branches) from indeterminate tomato varieties to focus the plant's energy on fruit development. Determinate varieties typically don't require pruning.
Remove any yellowing or diseased leaves to prevent the spread of disease. Prune strategically to maintain an open, airy structure.
Providing Support: Staking, Caging, and Trellising
Indeterminate tomato varieties require support to prevent them from sprawling and breaking under the weight of their fruit. Use stakes, cages, or trellises to provide support.
Stakes: Drive a sturdy stake into the ground near the plant and tie the main stem to the stake with soft twine. Cages: Place a wire cage around the plant to provide support as it grows. Trellises:Use a trellis to train the plant to grow vertically.
Pest and Disease Management
Container tomatoes are susceptible to various pests and diseases. Regular monitoring and prompt action are essential for preventing and controlling problems.
Common Tomato Pests and Diseases
Aphids: Small, soft-bodied insects that suck sap from plants. Control aphids with insecticidal soap or neem oil. Whiteflies: Tiny, white, flying insects that feed on plant sap. Control whiteflies with sticky traps or insecticidal soap. Tomato Hornworms: Large, green caterpillars that can defoliate tomato plants. Handpick hornworms or use Bacillus thuringiensis (Bt). Early Blight: A fungal disease that causes dark spots on leaves. Prevent early blight by providing good air circulation and avoiding overhead watering. Treat with a fungicide if necessary. Late Blight: A devastating fungal disease that can quickly kill tomato plants. Prevent late blight by choosing resistant varieties and applying a fungicide protectively. Blossom End Rot: A physiological disorder caused by calcium deficiency. Prevent blossom end rot by providing consistent watering and adding calcium to the soil.
Organic Pest and Disease Control Methods
Companion Planting: Plant basil, marigolds, or other beneficial plants near your tomatoes to repel pests. Neem Oil: A natural insecticide and fungicide that can be used to control various pests and diseases. Insecticidal Soap: An effective treatment for aphids, whiteflies, and other soft-bodied insects. Bacillus Thuringiensis (Bt): A biological insecticide that targets caterpillars.
People Also Ask
How long do tomato plants take to grow?
From planting seedlings, expect 60-85 days until your first ripe tomatoes, depending on the variety.
Can tomatoes grow indoors year-round?
Yes, with adequate light (grow lights are often necessary) and consistent temperatures, you can grow tomatoes indoors year-round. Select compact, determinate varieties for best results.
Harvesting and Enjoying Your Tomatoes
Harvest your tomatoes when they are fully colored, slightly soft to the touch, and easily detach from the vine. The peak flavor of a homegrown tomato is truly a reward for your gardening efforts.
Storing Your Tomatoes
Store ripe tomatoes at room temperature, away from direct sunlight. Refrigeration can affect the flavor and texture of tomatoes.
Using Your Homegrown Tomatoes
Enjoy your homegrown tomatoes in salads, sandwiches, sauces, salsas, and countless other dishes. Experiment with different recipes and savor the unique flavor of your garden-fresh tomatoes. Excess tomatoes can be canned, frozen, or dried for later use.
Container gardening opens up a world of possibilities for growing your own delicious tomatoes, regardless of your available space. Remember, gardening is a journey of learning and experimentation. Don't be afraid to try new things, adapt your techniques, and most importantly, enjoy the process of nurturing your plants and harvesting your own homegrown goodness!
Post a Comment for "Growing Tomatoes in Containers Best Practices"