Tomato Plant Growth Stages Seed to Fruit
Imagine biting into a sun-warmed tomato, bursting with flavor you nurtured from a tiny seed. That incredible taste is within your reach, even if you’re a beginner gardener!
Understanding the life cycle of your tomato plants, from seed to luscious fruit, is the secret weapon to achieving that delicious goal. It's about more than just planting and watering; it's about knowing what your plant needs at each stage to maximize yield, improve flavor, and even adapt to smaller spaces. This knowledge allows you to troubleshoot problems early and enjoy a more abundant harvest.
Want to give your seedlings a head start? Try bottom watering! Place your seedling tray in a shallow container of water for 15-20 minutes. This encourages strong root development as the plants draw moisture upwards, making them more resilient as they grow.
Tomato Plant Growth Stages: Seed to Fruit
Growing tomatoes can feel like a real accomplishment. To get there, you need to understand all the phases that tomato plants go through. We're going to cover everything you need to know, from starting seeds indoors to harvesting your ripe, juicy tomatoes.
Stage 1: Seed Germination
The journey begins with a tiny seed, packed with the potential for vine-ripened goodness. Germination is the process of this seed sprouting and sending out its first roots and shoots.
Timing: Typically, germination takes 5-10 days under ideal conditions. Conditions: Consistent warmth (around 70-80°F or 21-27°C) and moisture are crucial. How to do it:You can start seeds indoors in seed trays or small pots filled with seed-starting mix. Sow seeds about ¼ inch deep and keep the soil consistently moist, but not soggy. Using a heat mat can significantly speed up germination. Once the seedlings emerge, provide them with plenty of light to prevent them from becoming leggy.
How long does it take for tomato seeds to germinate?
Under optimal conditions (warmth and moisture), tomato seeds typically germinate within 5-10 days. However, cooler temperatures can significantly slow down this process.
Stage 2: Seedling Stage
Once your seeds have sprouted, they enter the seedling stage. This is where they develop their first true leaves (the leaves that look like tiny tomato leaves, not just the initial seed leaves).
Timing: This stage lasts for several weeks, until the seedlings are strong enough to be transplanted. Conditions: Plenty of light (14-16 hours a day) is essential to prevent leggy growth. Keep the soil consistently moist, and provide good air circulation to prevent diseases. How to do it:If you started your seeds indoors, make sure they are under grow lights or in a very sunny window. Rotate the seedlings regularly to ensure even growth. Once the seedlings have a few sets of true leaves, you can start fertilizing them with a diluted liquid fertilizer formulated for seedlings. Hardening off is crucial before transplanting outdoors: Gradually expose them to outdoor conditions (sun, wind, and temperature fluctuations) for a week or two before planting.
Stage 3: Transplanting
The transplanting stage is when you move your seedlings from their small containers to their final growing location, whether it's in the garden, raised beds, or pots.
Timing: Transplant when the danger of frost has passed and the soil has warmed up. Conditions: Choose a sunny location with well-drained soil. How to do it:Dig a hole slightly larger than the root ball of the seedling. Gently remove the seedling from its container and loosen the roots slightly. Plant the seedling deep, burying the stem up to the first set of leaves. This encourages the development of more roots along the buried stem, resulting in a stronger plant. Water thoroughly after transplanting. Adding a handful of compost to the planting hole provides a boost of nutrients.
What is the best soil for tomatoes?
Tomatoes thrive in well-draining soil that is rich in organic matter. A slightly acidic p H (6.0-6.8) is ideal. Amend your soil with compost, aged manure, or other organic materials to improve drainage, fertility, and water retention.
Stage 4: Vegetative Growth
After transplanting, your tomato plant enters a period of rapid vegetative growth. It focuses on developing its stem, leaves, and root system.
Timing: This stage lasts for several weeks, until the plant begins to flower. Conditions: Consistent watering, regular fertilization, and support (staking or caging) are important during this stage. How to do it:Water deeply whenever the top inch of soil feels dry. Fertilize regularly with a balanced fertilizer, following the instructions on the package. Prune suckers (the small shoots that grow between the main stem and branches) to encourage more fruit production. Provide support to keep the plant upright and prevent the fruit from touching the ground.
Stage 5: Flowering
The appearance of flowers signals the transition to the reproductive stage. Your tomato plant is now focusing on producing fruit.
Timing: This stage begins several weeks after transplanting, depending on the variety and growing conditions. Conditions: Adequate sunlight, consistent watering, and proper pollination are crucial for fruit set. How to do it:Ensure the plant receives at least 6-8 hours of sunlight per day. Continue to water regularly and fertilize with a fertilizer that is higher in phosphorus and potassium (these nutrients promote flowering and fruit development). If you are growing tomatoes indoors or in an area with limited bee activity, you may need to hand-pollinate the flowers. Gently shake the plant or use a small brush to transfer pollen from one flower to another.
Stage 6: Fruit Set
After the flowers are pollinated, they will begin to develop into small green tomatoes. This is the fruit set stage.
Timing: This stage occurs shortly after flowering. Conditions: Consistent watering and fertilization are essential to support fruit development. How to do it:Continue to water deeply and fertilize regularly. Protect the developing fruit from pests and diseases. Blossom end rot, a common problem caused by calcium deficiency, can be prevented by maintaining consistent soil moisture and adding calcium to the soil (e.g., with bone meal or crushed eggshells).
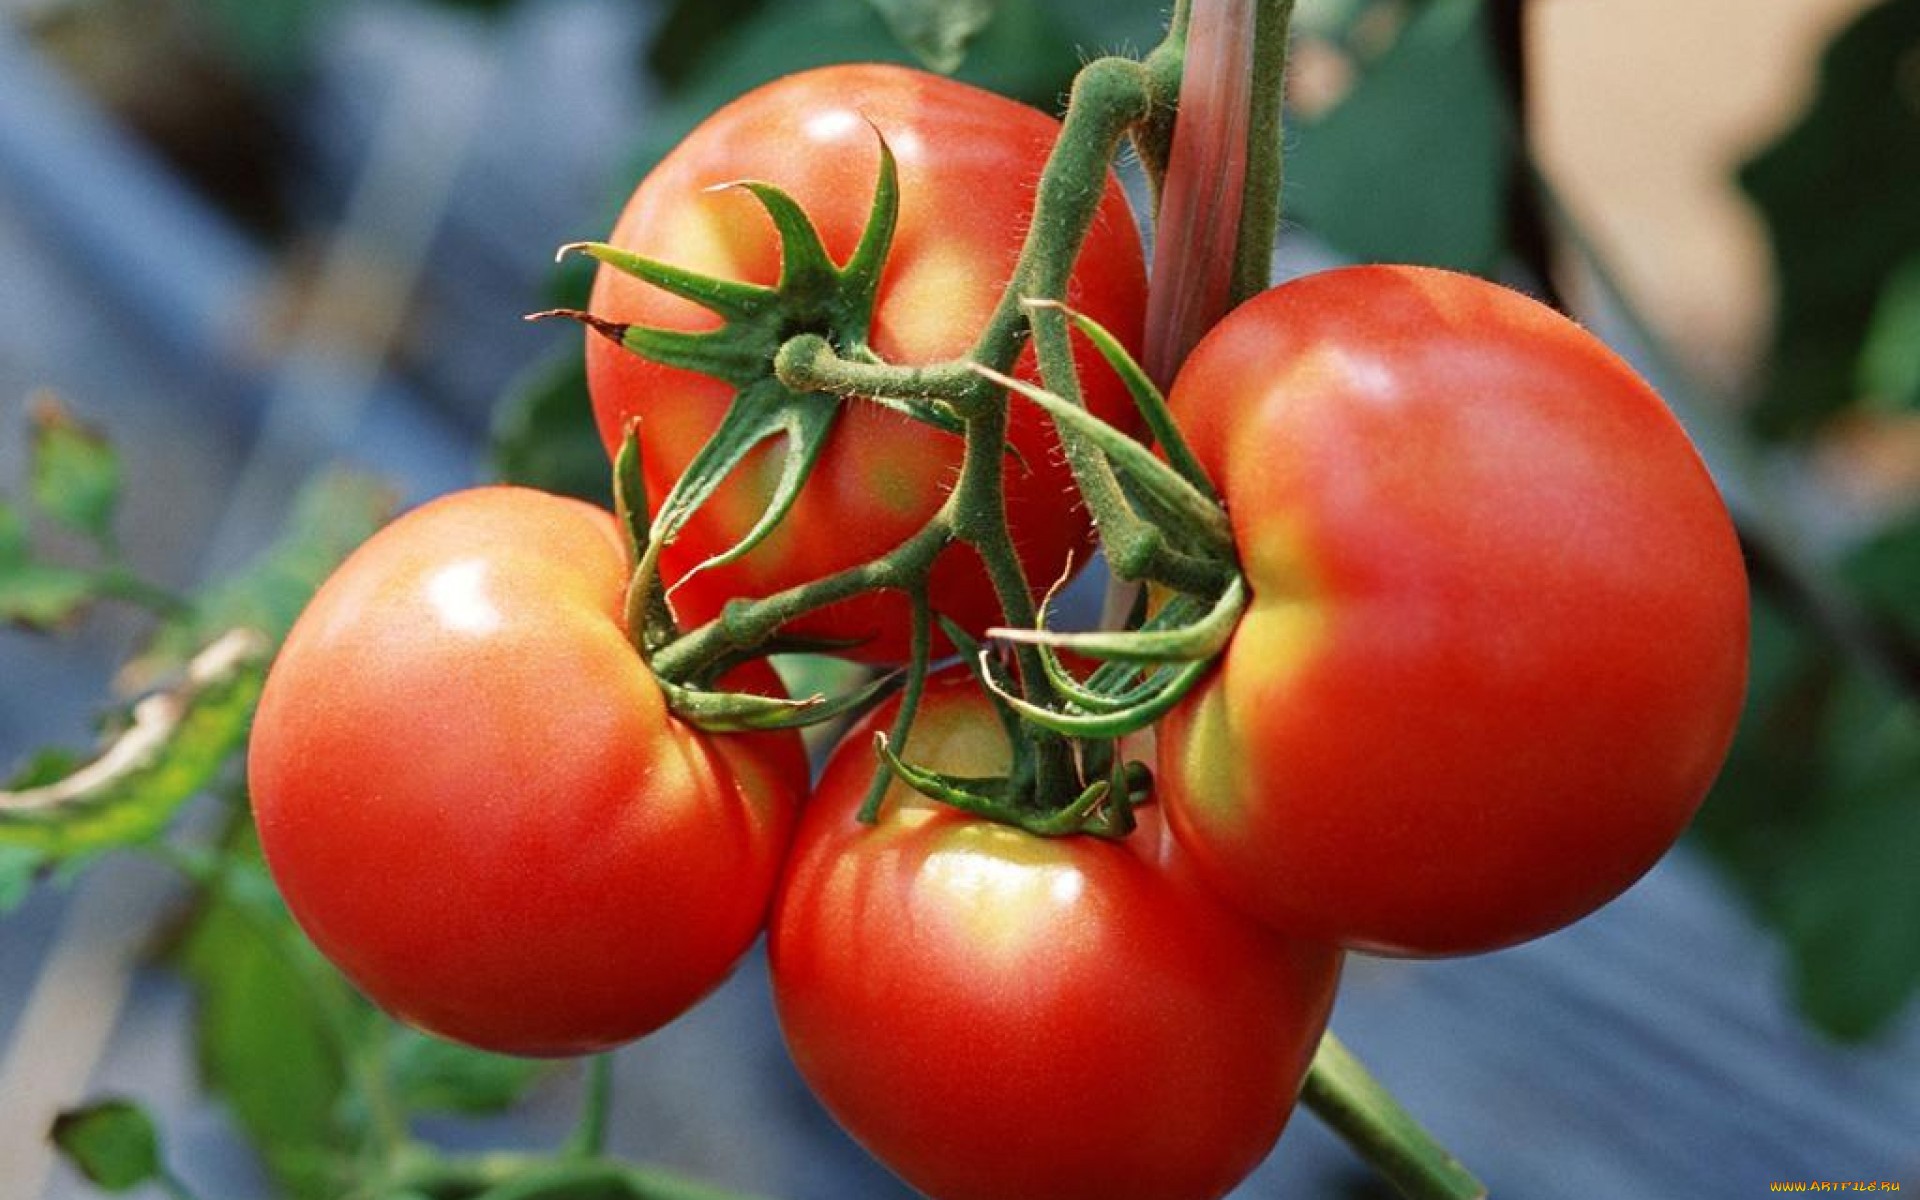
Stage 7: Fruit Ripening
As the tomatoes mature, they will begin to change color, from green to yellow, orange, red, or other colors depending on the variety. This is the ripening stage.
Timing: This stage takes several weeks, depending on the variety and growing conditions. Conditions: Warm temperatures and plenty of sunlight are ideal for ripening. How to do it:Provide adequate support for the plant to prevent branches from breaking under the weight of the fruit. You can also remove some of the leaves around the tomatoes to expose them to more sunlight, which can speed up ripening. If frost is a concern, you can harvest green tomatoes and ripen them indoors.
Stage 8: Harvesting
The final stage is harvesting your ripe, juicy tomatoes!
Timing: Harvest when the tomatoes are fully colored and slightly soft to the touch. Conditions: Harvest in the morning, after the dew has dried. How to do it:Gently twist or cut the tomato from the vine, leaving a small piece of the stem attached. Enjoy your homegrown tomatoes in salads, sandwiches, sauces, or simply eat them fresh off the vine!
Can tomatoes grow indoors year-round?
Yes, tomatoes can be grown indoors year-round with the right conditions. You'll need a sunny window or grow lights, a suitable container, well-draining soil, and consistent watering and fertilization. Choose determinate or dwarf varieties that are well-suited for container growing. Hand-pollination may be necessary if you don't have enough natural airflow to help with pollination.
From tiny seed to a table full of flavorful fruit, growing tomatoes is a rewarding experience. Don't be afraid to experiment with different varieties, growing techniques, and fertilizers to find what works best for you and your garden. Every season is a new opportunity to learn and improve, so get out there, get your hands dirty, and enjoy the process of nurturing your own delicious tomatoes!
Post a Comment for "Tomato Plant Growth Stages Seed to Fruit"